To enable ROOT access & custom recovery app for an Android phone can be technically daunting especially for a non-programmer.
Fortunately, the Oneplus One phone allows unlocking & root without voiding the phone warrenty unlike other Android phone brands. Below is a summary of the key instructions for those who wish to unlock, root & try with the beta ROMs on the new phone. Technically, the whole process should be similar to other Android phones provided the ROM is deemed compatible for that phone model.
In short, there are a few main steps:
a. Unlock the boot loader
b. Flash in a Custom Recovery (to replace the original Stock Recovery program)
c. Flash in a new/custom system ROM (to replace the original OS. this may include modem drivers etc)
d. Install the Root binary (for root access management within the OS)
Here are the detailed steps to achieve the above process:
1) ADB setup (establish comms between PC & Android phone)
a. Download the full Android SDK (http://developer.android.com/sdk/index.html#download).
b. Extract the zip.
c. In the main folder, run SDK Manager.exe.

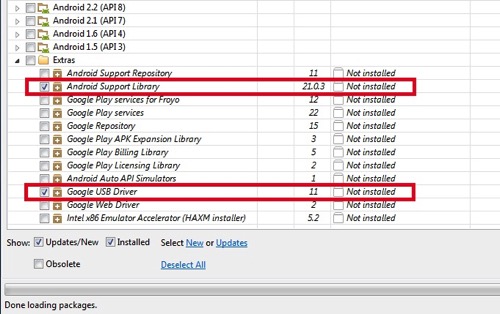
d. Install the following packages:
– Tools : Android SDK Tools, Android SDK Platform-tools
– Extras : Android Support Library, Google USB Driver
e.. Within ‘/platform-tools’, check ADB service:
>adb version

It should display “Android Debug Bridge version x.x.xx”
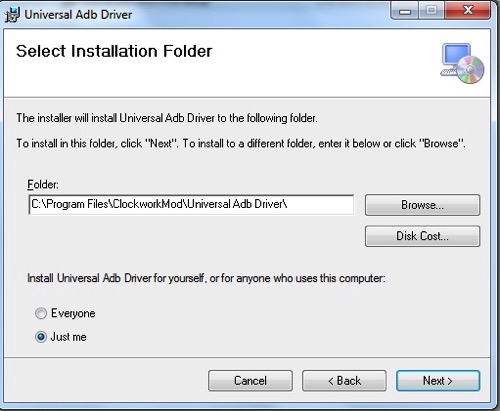
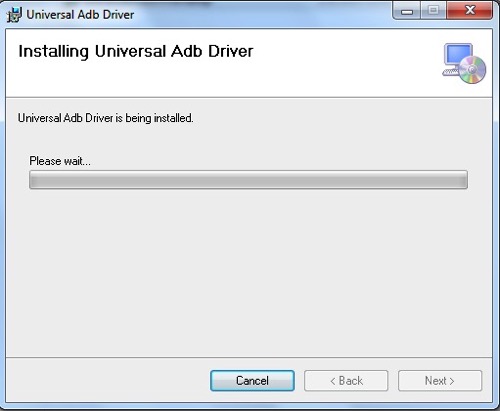
g. Install windows ADB driver(http://www.koushikdutta.com/post/universal-adb-driver).
2) Phone preparations
a. Maintain >70% charge
b. Backup – As Unlocking the bootloader will completely wipe all data from the device.
3) Files to be downloaded
a. TeamWin Recovery Project (TWRP) – http://techerrata.com/browse/twrp2/bacon
b. SuperSU – http://download.chainfire.eu/supersu
4) Understanding the process
a. Unlocking Bootloader: Opens the door to the internal memory of the device to be written on to. This allows you to flash images onto the main partitions of the phone.
b. Installing a Custom Recovery: A custom recovery is flashed onto the recovery partition of the device and overwrites the stock recovery that exists by default. Custom recoveries bring lots of functionality and give you the ability to perform wipes, install flashable zips, create full backups of your NAND (Nandroid backup), and various other features. An unlocked bootloader is needed to install a custom recovery.
c. Rooting: You can gain root by either flashing via recovery a pre-rooted custom rom, or flashing a zip containing the SuperSU binaries. A custom recovery is necessary to do this.
* All 3 steps must be done sequentially in correct order
5) Unlock Bootloader
a. Turn the phone off.
b. Boot into FASTBOOT mode (holding volume up + power)

c. Plug the phone into your PC
d. Open a command prompt window
e. Within <sdk folder>/platform-tools:
type> fastboot devices
The connected phone serial number should be listed.
f. Within <sdk folder>/platform-tools:
type> fastboot oem unlock
g. Once unlock done,
type> fastboot reboot

6) Further phone preparations
a. Enable ‘Developer menu in Phone settings: Go to Settings > About > Tap on the Built (x7 times)
b. Enable USB debugging : Go to Settings > Developer options >
c. Disable CM Recovery Protection – Go to Settings > Developer options. Then disable the ‘Update recovery with system updates’ option.
7) Install Custom Recovery Rom (TWRP)
a. Turn the phone off.
b. Boot into fastboot mode (holding volume up + power)
c. Unzip the file downloaded in (3a), & rename to recovery.img. Place in the <sdk>/platform-tools folder.
d. flash the TWRP recovery img:
Within <sdk>/platform-tools
type> fastboot flash recovery recovery.img
Once the flash has completed type the following command to reboot the phone:
type> fastboot reboot
8) Root the phone (SUPERSU)
a. Turn off the phone
b. Boot into recovery mode (holding volume down + power)
c. On the desktop, Open a command prompt window & go to <sdk>/platform tools
d.
type> adb push UPDATE-SuperSU-vX.XX.zip /sdcard/
This will copy the SuperSU zip onto your phone.
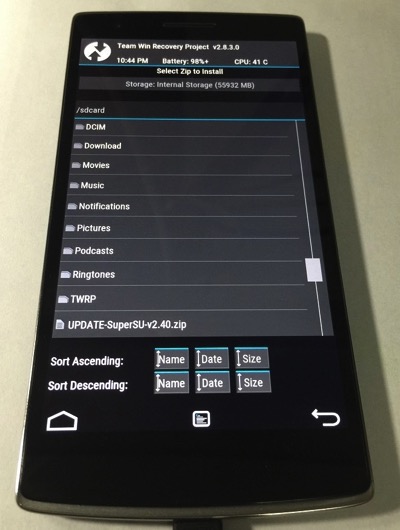
e. At the TWRP menu on the phone
Select Install > browse to SuperSU zip and select the it for installation.
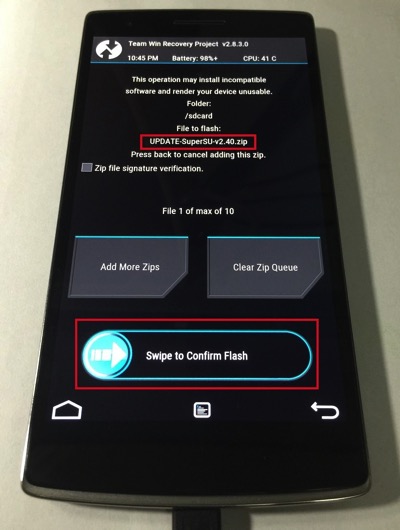
f. Once the update is done, the phone will reboot
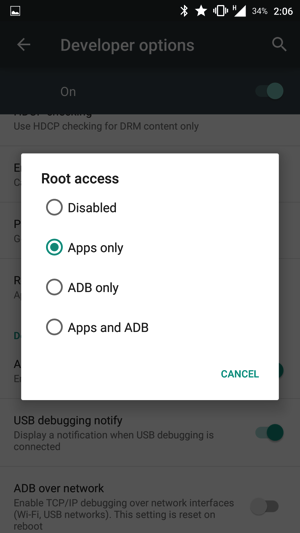
Access the CM12 settings > develop options > Root Access, set enable ‘Apps’. This is an important step which will grant SuperSU the root access apart from the inbuilt CM-SU binary.

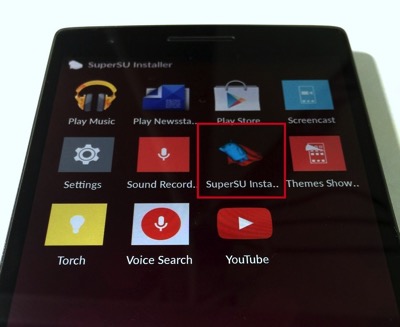
g. Check the SUPERSU app to verify the root access is done successfully. Initially, SuperSU will request to update the binary. Do proceed via the recovery mode (TWRP/CWM).
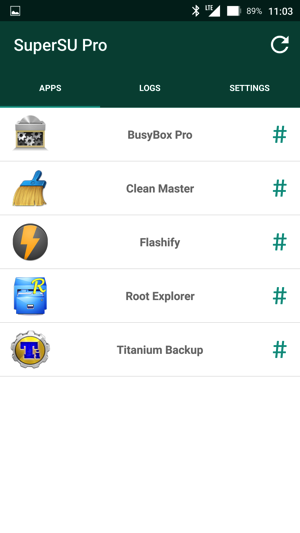
Technically, once you have completed the above steps, you will be able to flash custom ROMs or restore the stock ROMs with ease.
Once key advantage of owing the Oneplus One smartphone is the CyanogenMod support. For now, the official release (daily driver) is CM11 (based on Android 4.4.4) which came with the phone as the default version.
The following steps will show you how to flash the beta versions of CyanogenMod ROMs (termed as Nightlies).
Install CyanogenMod ROM
1) Download the latest ROM (http://download.cyanogenmod.org/?device=bacon)
2) Download Google Apps installation zip (http://wiki.cyanogenmod.org/w/Google_Apps)
2) Copy both downloaded zips into an external thumbdrive & connect to phone via OTG cable
3) Boot to recovery mode (With the device powered down, hold the Volume Down and Power buttons)
4) In TWRP menu, select ‘Install’ and locate the ROM zip in the OTG-USB folder
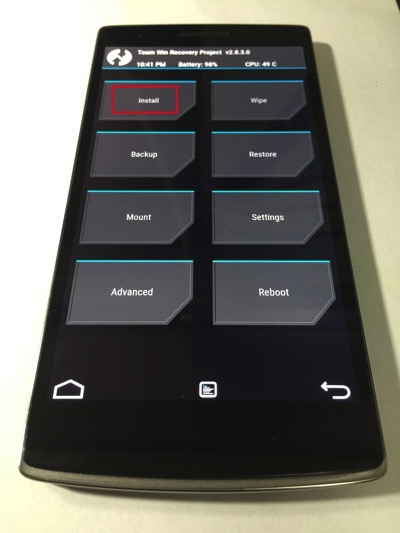
5) Back to TWRP in recovery mode, likewise select ‘Install’ and locate Google Apps zip in the OTG-USB folder
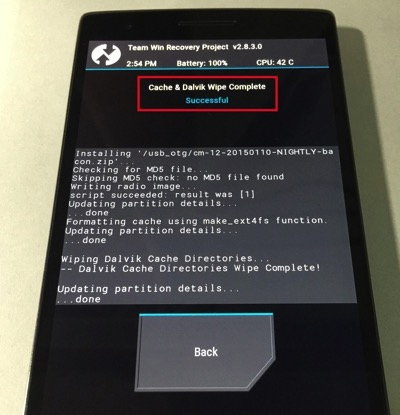
* It is advised to wipe the Cache & Davik Cache when prompted by TWRP during the ROM recovery.
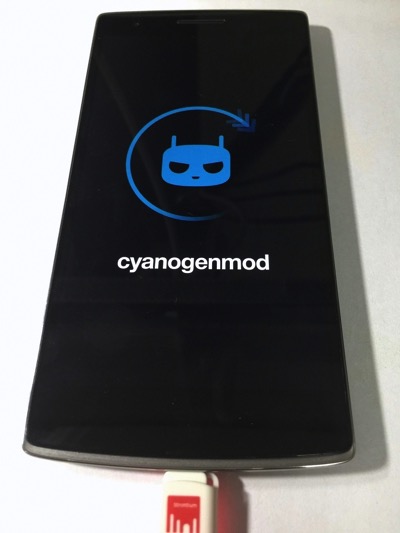
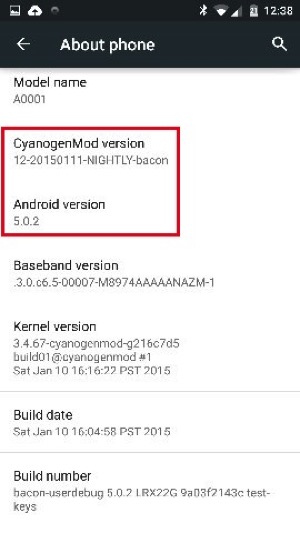
Now, you have the latest ROM boot up on your phone:
Install Cyandelta (enable OTA updates if you are using the nightly versions)
1) Download a copy of the CM12 nightly zip into the phone internal storage
2) Install the Cyandelta app (search in Google App store)
3) Run the Cyandelta app & select the ROM zip
4) It will prepare an updated zip if there’s changes to the nightly ROM
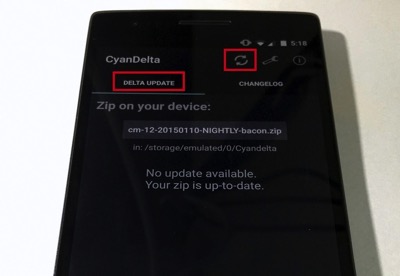
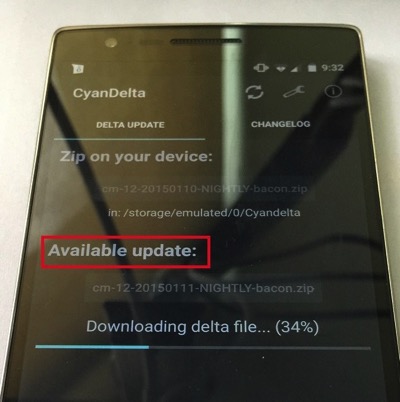
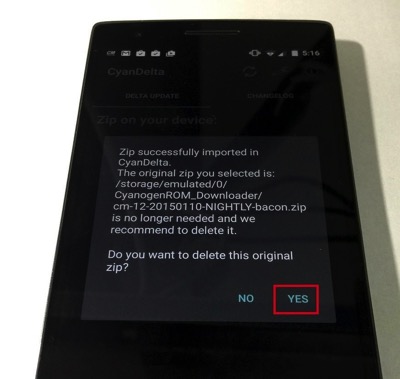
5) Allow the app to flash the updated zip (The app will automate scripts in TWRP recovery mode)
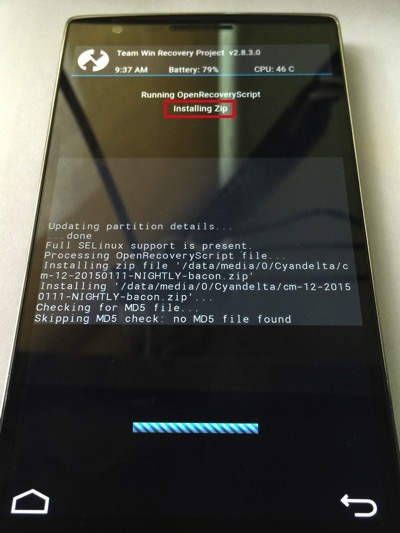
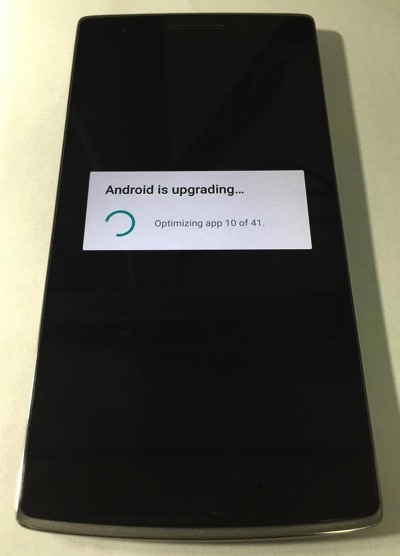
Once the phone is reboot, the system will prepare for the necessary updates.
6) Moving forward, the Cyandelta app will notify automatically whenever there is an updated nightly ROM in the official CyanogenMod site
Backup & Restore
It is utmost important to also establish regular backup in case there are issues with the system ROM upgrade process.
Titanium Backup is a straightforward app which can allow you to backup the entire system:
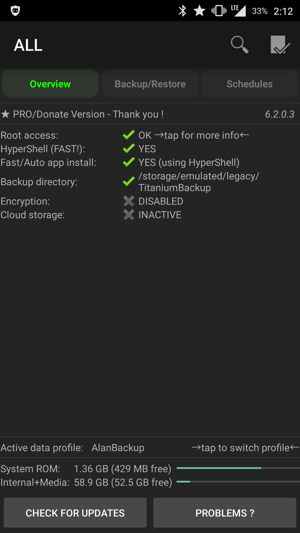
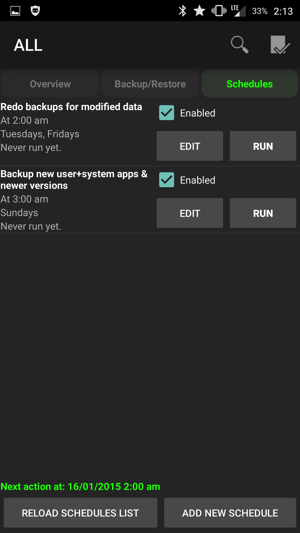
Restore via Titanium Backup can be done within the Android OS environment or you can boot into recovery mode & restore from the prepared update.zip by the app.
Have fun toying with your Android Phone!
Disclaimer : The blog post is only a reference. This may require some technical knowledge and the all users should understand the inherent risks. Any technical support, please continue to contact your phone manufacturer.
Read other related posts:
Follow us on:
Share this article on:


2 comments for “How to UNLOCK, ROOT & perform CUSTOM RECOVERY for the Android OnePlus One smartphone | IT Guides”