Though I did not manage to attend the Google I/O event this year despite having the ticket, I have managed to purchase the first Google tablet – Google Nexus 7 from the Google Play Store.

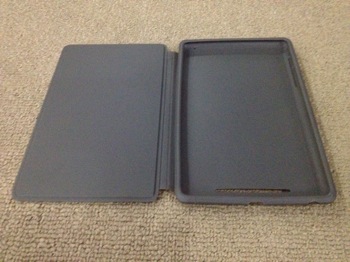
Sadly, the only official cover is the grey one made by the same manufacturer partner for Nexus 7 – Asus. Unboxing the new Nexus 7 was pretty straightforward though I personally would prefer to avoid having the multiple inner compartments.
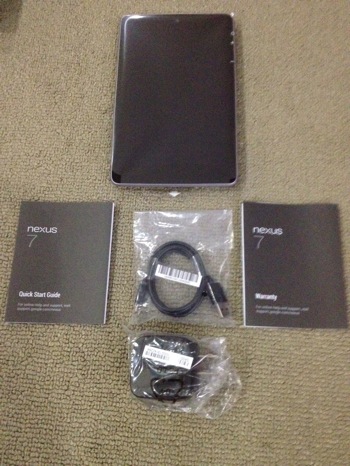
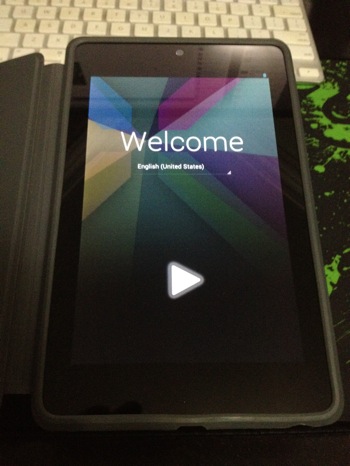
One of the advantage of this Nexus 7 vs the other Android tablets in the market is the ease of unlocking and rooting of the device.
WugFresh has managed to developed a very straightforward tool to handle the preparation to the unlock / root and even restoring the OEM lock, all via a simple GUI.
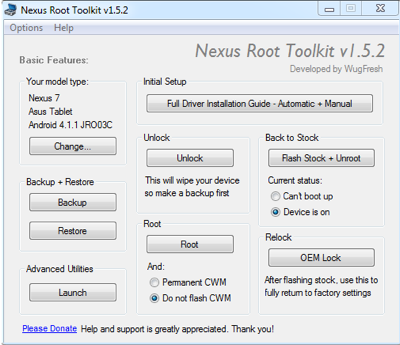
The key steps are:
A) Full Drivers installation on your terminal PC
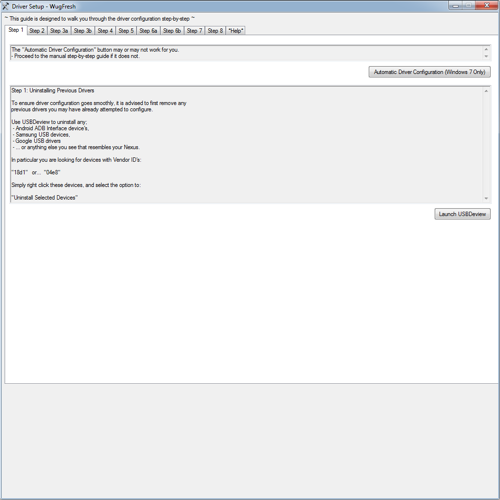
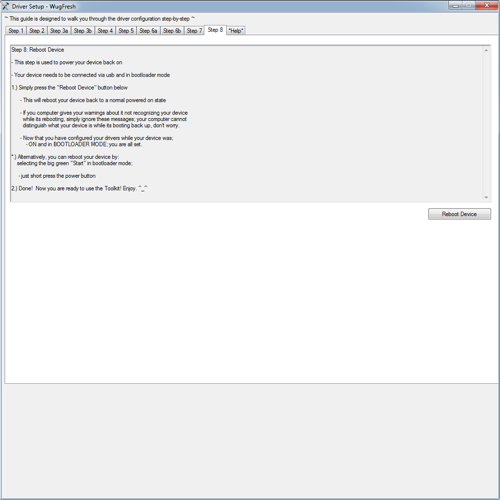
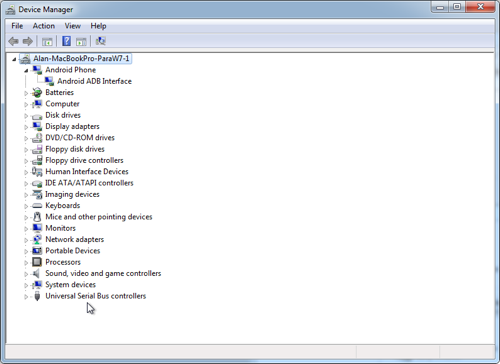
Once the drivers are successfully installed, you should be able to see the connected Nexus 7 as an Android ADB interfaced phone.
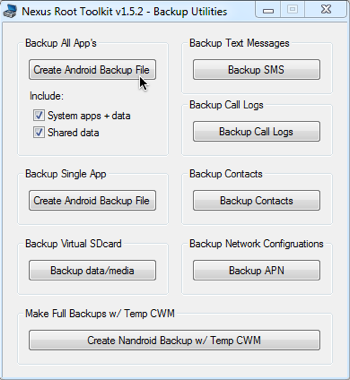
B) Perform full backup of the tablet (if you have existing information, installed apps etc on the device)
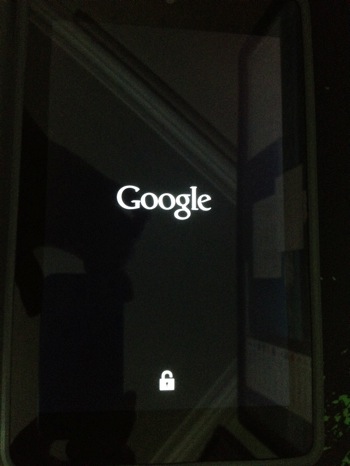
C) Perform bootloader unlock
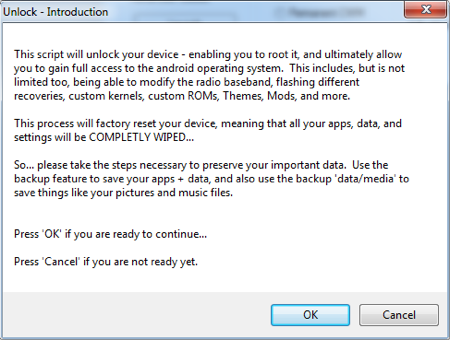

D) Initiating root access and install ClockModRecovery
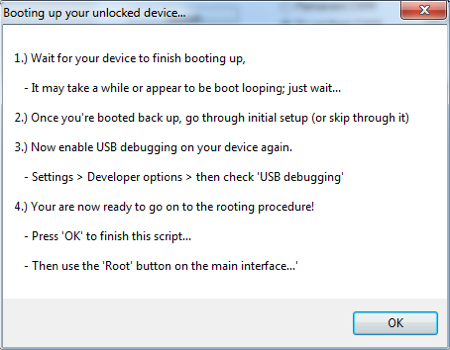
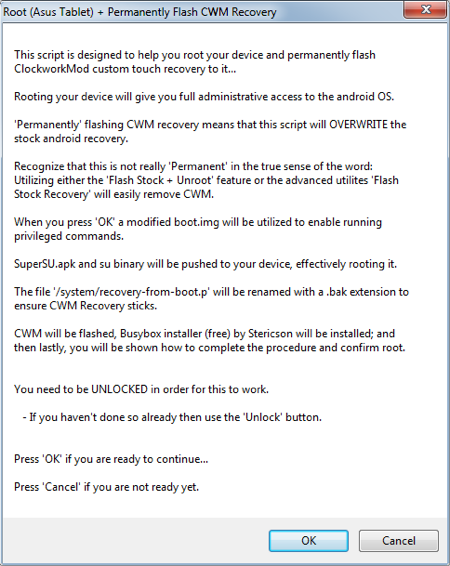
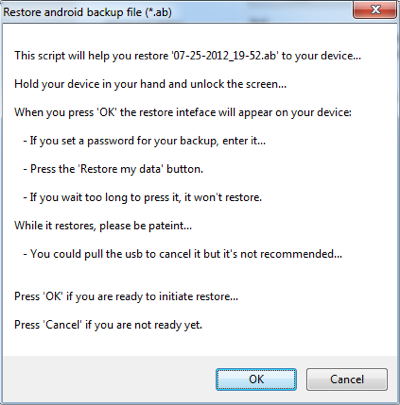
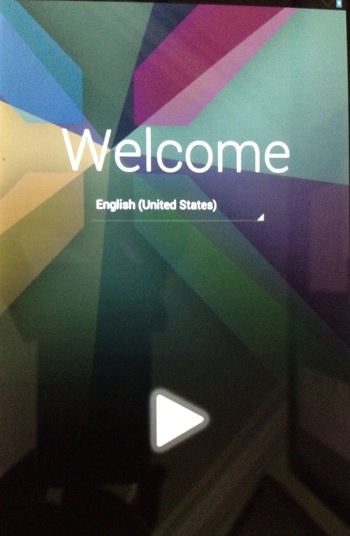
E) Finishing and restore your initial backups
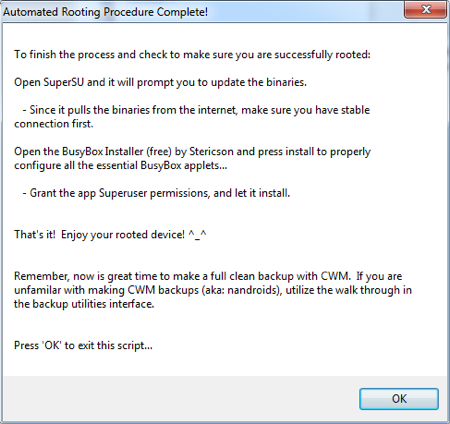
F) DONE! Verify your rooted Nexus 7
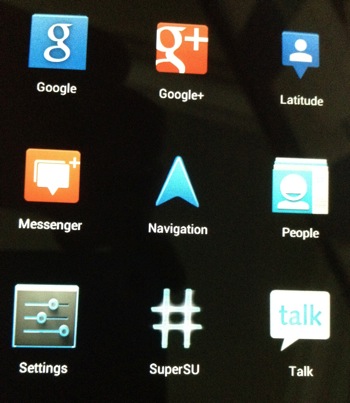
There should be an inserted app to manage the Root Administrator rights (SuperSU).
* Do take note that the warranty will be voided once the unlock and root are completed.
Keep a close look out on my next review post once I have played with it for a time period so that I can appreciate the key differences against the regular iPad.
Read other related posts:
Follow us on:
Share this article on:

