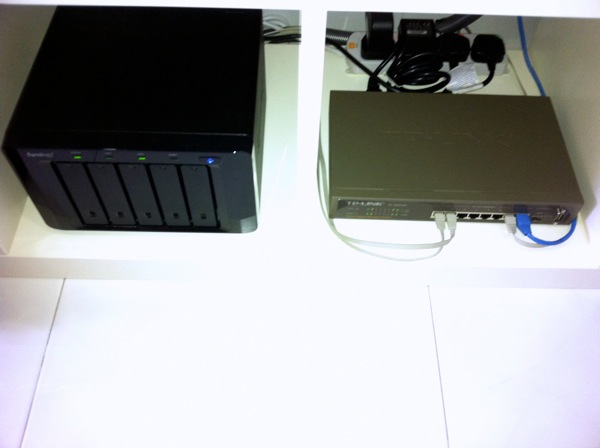
In my earlier posts, I have shared about the benefits of enabling Link Aggregation for compatible network devices such as my Synology DS 1511+ network access storage (NAS) and TP-Link TL-SG3109 9 ports Gigabit Managed Switch. The installations may not be so straightforward for a novice but I will still attempt to share the whole process in the most simplistic manner.
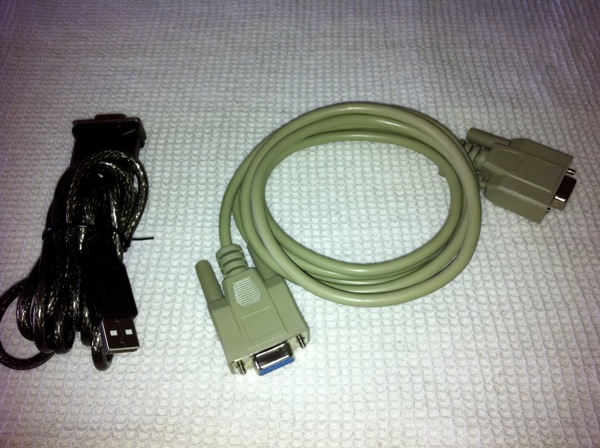
A) Before you can start, grab a simple USB-Serial (RS232) cable [Left of the Pic] and a connecting cable (both ends female). These are relatively cheap and easy to find & get.
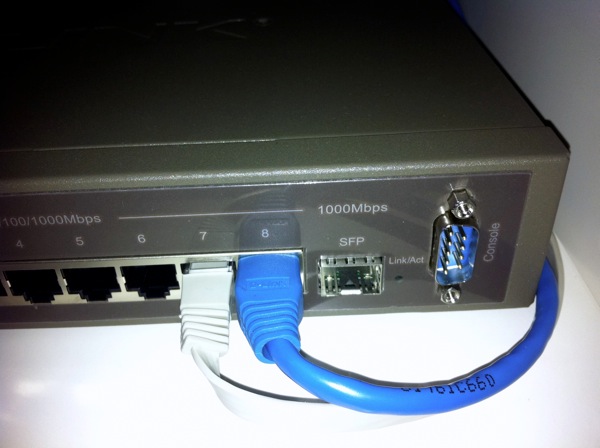
One of the female end is to be connected to the ‘Console’ output of the TP-Link TL-SG3109 managed switch. You should also download the generic USB-Serial drivers for both Mac & Windows at http://www.serialgear.com/usb-serial-adapter-drivers-windows-mac-linux.cfm. My guide is illustrated using Windows 7 and should be pretty similar in a Mac environment.
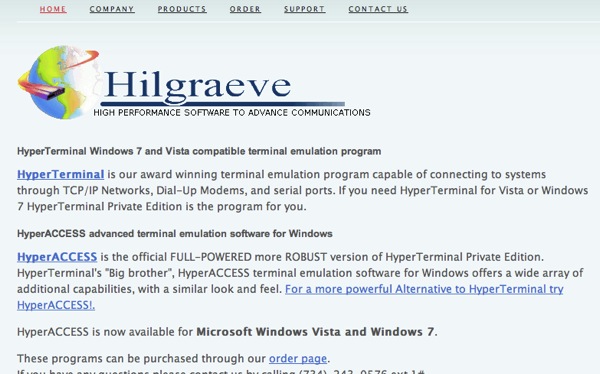
B) Download and install a V100 terminal application. For me, I am using Hyperterminal Private Edition v7.0 from Hilgraeve. You can also get a 30-days trial evaluation installation from the same site.
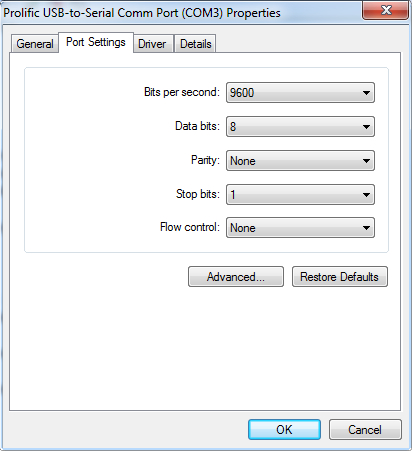
C) Once you have connected the USB-Serial cable to your laptop/PC, you should be prompted to setup the Serial connection. Follow the settings depicted below for (bps, data bits, Parity, Stop bits, Flow Control).
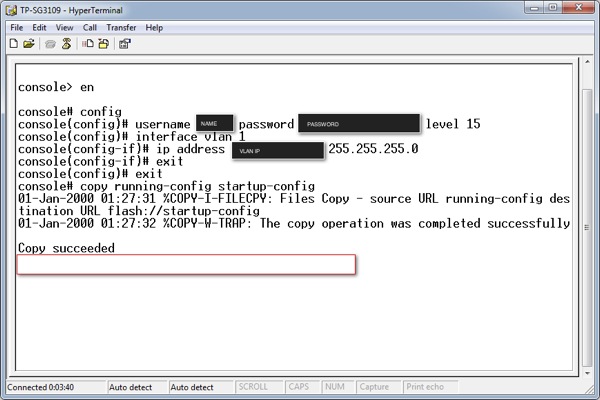
D) Once the comm port settings are done, you can establish a V100 terminal connection to the TP-Link TL-SG3109 managed switch. Replace the desired values shown below at the respective command lines (e.g. ‘NAME’, ‘PASSWORD’, ‘VLAN IP’). Take note, the VLAN IP should be unused and not assigned DHCP to other devices. This will be the same IP which you will also be using to remote access the TP-Link TL-SG3109 managed switch and web-managed the switch settings.
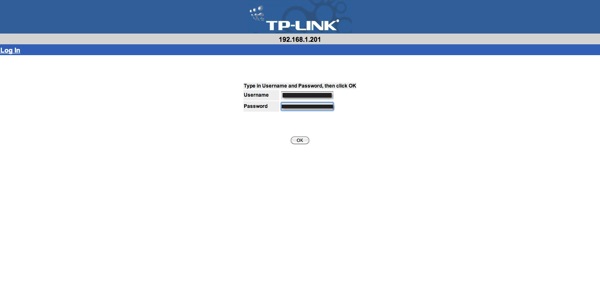
E) Login to the TP-Link TL-SG3109 managed web console using the same USER NAME & PASSWORD defined in earlier step.
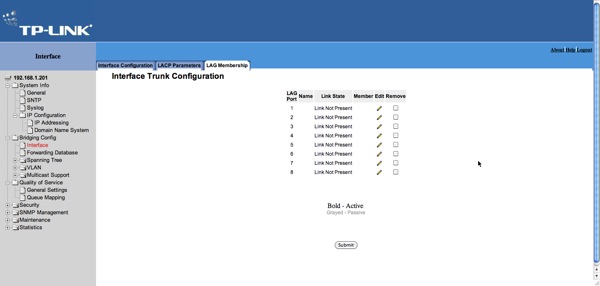
F) Create a new LAG port. Link Aggregation group merely identifies all the port and processes them collectively for the purpose of Link Aggregation.
G) Once the LAG is created, you can specify the LACP enabled ports (in my case g1 & g2) to be in the same group.
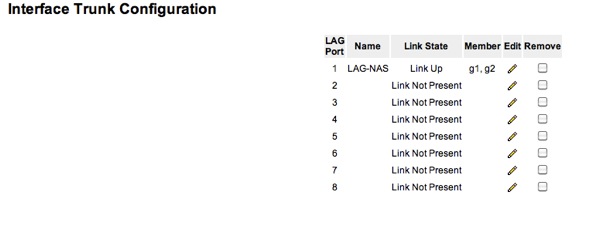
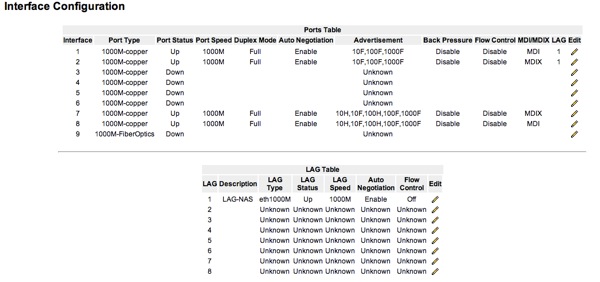
H) Once done, you can verify the connectivity under Interface Configuration. LAG status should be ‘UP’ and Port Status for the LAG ports should be ‘UP’ too.
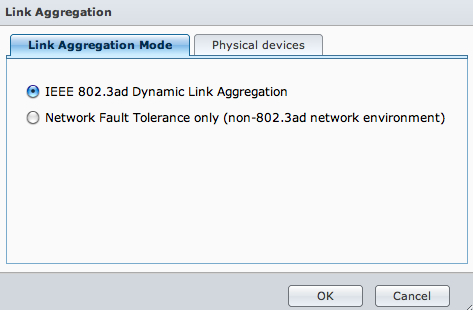
I) At the juncture, the initial setup for the TP-Link TL-SG3109 managed switch should be completed. Next, we move on to the Synology DS 1511+ NAS. Under Network>Link Aggregation, select “IEEE 802.3ad Dynamic Link Aggregation”
J) Both LAN ports should be set to Jumbo Frame MTU 5000.
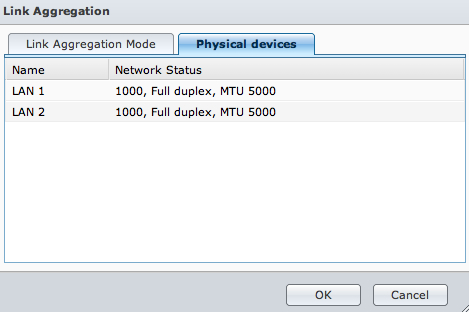
With these steps completed, you should be able to see Link Aggregation up on your Synology DS 1511+ NAS. Now, without investing in a wider bandwidth, you should be able to get decent improvement within your home / SOHO networking environment.
Read other related posts:
Follow us on:
Share this article on:


4 comments for “Setting up Link Aggregation for Synology DS 1511+ and TP-Link TL-SG3109 | Hardware & Software | IT Gadgets”